Know What I Need? And a No-Sew Covered Cork Board
An editorial calendar—not the one I have in my head/or half heartedly started in Google Docs.
Why, you ask, is that important?
Because what inevitably happens, I start doing something: like downloaded a monthly calendar to put on my refrigerator «because that's how I meal plan». And while I was ‘binding it’ «I used that word very loosely» I thought…I should show people this quick/easy way to bind something.
That's how this no-sew tutorial came to be; unlike the binding incident that I chalking it up to…oh, next time. I grabbed my phone and took some pics.
So here you go: Don't judge the photos, like I said, shot with my phone—not my Nikon.
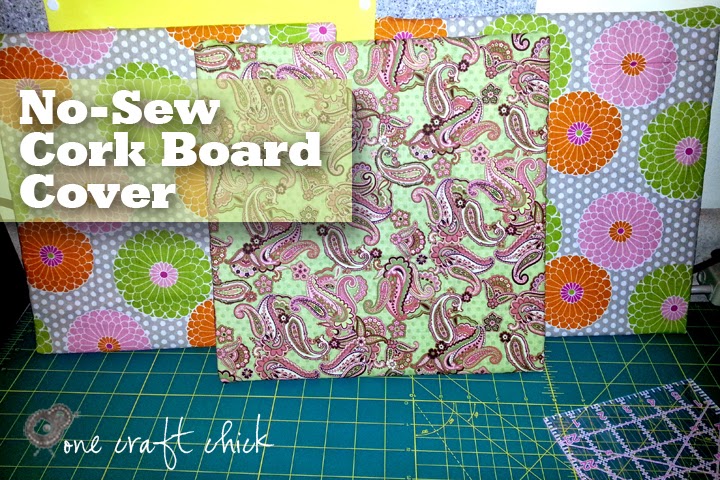
So, I have these three pieces of cork boards that I purchased about 3-years ago at a church rummage sale for about 75¢.
Somehow I didn't realize that they smell funny. But I've have kept them «why? It's beyond my understanding» and have moved them from one house to another.
Well, this weekend I was spending 30 minutes working in my office and decided NOW is the time to do something or throw them away—this was my mindset over the past couple weeks.

Brilliant right?
Yes it is.


Repeat on all sides

I stuck mine onto the wall using Removable Mounting Putty—or I would have had to go find a hammer and some nails or something like that.


If I had had —say an hour— I might «that's a big MIGHT» have gotten the iron out and ironed the fabric first.
One of the best things about this project: If I decide I need to use the fabric I can take it off easily! Or if I decide I want to change the colors in my office/craft room that's super easy as well.
Why, you ask, is that important?
Because what inevitably happens, I start doing something: like downloaded a monthly calendar to put on my refrigerator «because that's how I meal plan». And while I was ‘binding it’ «I used that word very loosely» I thought…I should show people this quick/easy way to bind something.
That's how this no-sew tutorial came to be; unlike the binding incident that I chalking it up to…oh, next time. I grabbed my phone and took some pics.
So here you go: Don't judge the photos, like I said, shot with my phone—not my Nikon.
So, I have these three pieces of cork boards that I purchased about 3-years ago at a church rummage sale for about 75¢.
Somehow I didn't realize that they smell funny. But I've have kept them «why? It's beyond my understanding» and have moved them from one house to another.
Well, this weekend I was spending 30 minutes working in my office and decided NOW is the time to do something or throw them away—this was my mindset over the past couple weeks.
Since I only had 30 minutes, whatever I was going to do would have to be speedy. So I decided that the plethora of fabric I have will come in handy right now.
But, I was NOT getting out my sewing machine.
Ahh!
I just put a stapler into a drawer…maybe I should take it out and use it. :)
Brilliant right?
Yes it is.
Cut your fabric so you have a couple inches on each side—just wing it. Or a whole fat square will work—no cutting requires.
With the pretty side of the fabric facing down place the cork board on top.
Wrap the cork board like a present.
Hold the corners with one hand and then staple with the other.
I stuck mine onto the wall using Removable Mounting Putty—or I would have had to go find a hammer and some nails or something like that.
Up and completed in roughly 30 minutes.
If I had had —say an hour— I might «that's a big MIGHT» have gotten the iron out and ironed the fabric first.
One of the best things about this project: If I decide I need to use the fabric I can take it off easily! Or if I decide I want to change the colors in my office/craft room that's super easy as well.


Comments
Post a Comment